![]()
|
Create the SQL-Sync database in MySQL |
·
The Parklane SQL Sync database is built in MySQL. This is a one-time setup process to create
the database.
·
Follow the steps below to create the database.
·
You must keep a record of the admin password that is used to
create the database.
·
In step 5 below, security rights can be assigned to clients connecting
to the database.
·
Always use the Test and Save buttons at the end to complete
the process.
Step
2.
Build the SQL-Sync database
Now that the Web
Framework is installed, the SQL Sync database needs to be built.
To Perform this
step, you'll need to know the MySQL Root Password (from Step 1), as well as a
list of hosts that will access the SQL Sync Database.
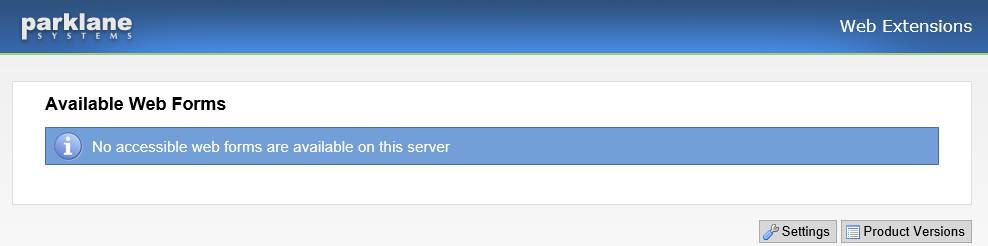
1.
Open a web browser and go to http://localhost (or http://localhost:portnumber if you changed the port
number)
2.
Click Settings
|
|
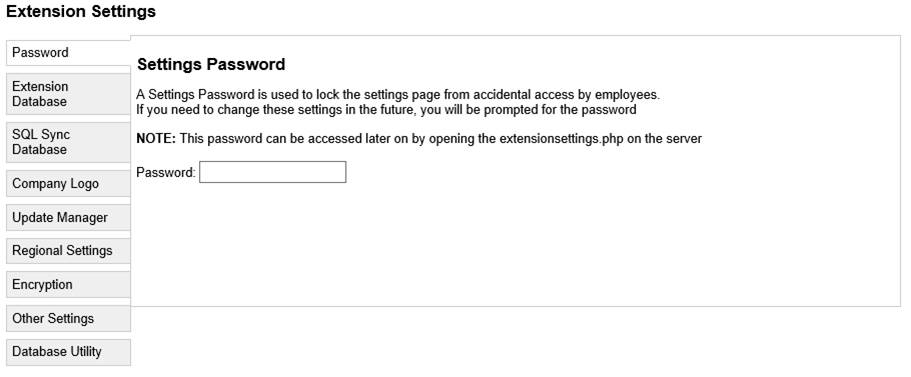
3.
Assign a password to lock out access to the Web Settings
page.
|
|
Click the SQL Sync Database tab and select Create SQL Sync Database
|
|
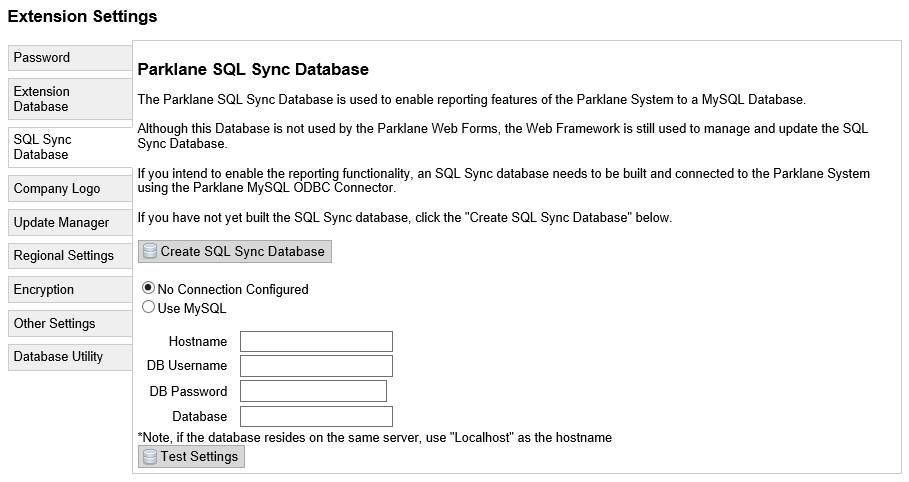
4.
Select Create a new
database and build the tables
click Next

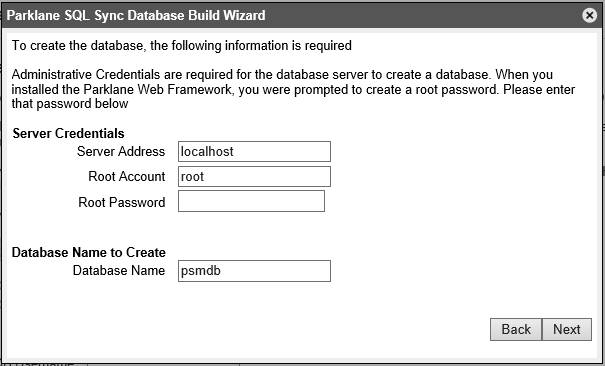
5.
You will be asked for the Root password (from step 1) and to
assign the database a name.
We recommend leaving the database name as psmdb.
Click Next
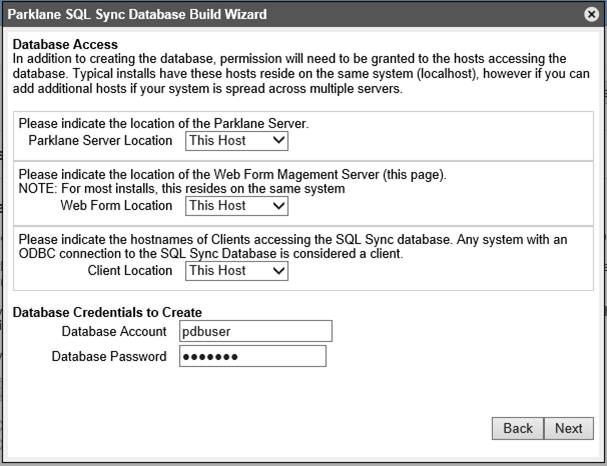
6.
You now need to set up Permissions for the SQL Sync
Database.
If the Web Framework is installed on the same server as the Parklane SHARE
server, leave the Parklane Server
Location as This Host.
Leave the Web Form Location as This Host.
You now need to assign the list of hosts that will connect to the SQL Sync
database.
Hosts are consider a "client" if they will use the MySQL ODBC
Connector to connect to the SQL Sync Database.
If you have clients on other system, select "Another Host" and then provide the hostnames or IP addresses
of the systems.
You can add multiple hosts by separating their names with a comma (myserver,server1,server2,server5).
You can also use "Any Host"
to allow any host to connect. However this option is not recommended.
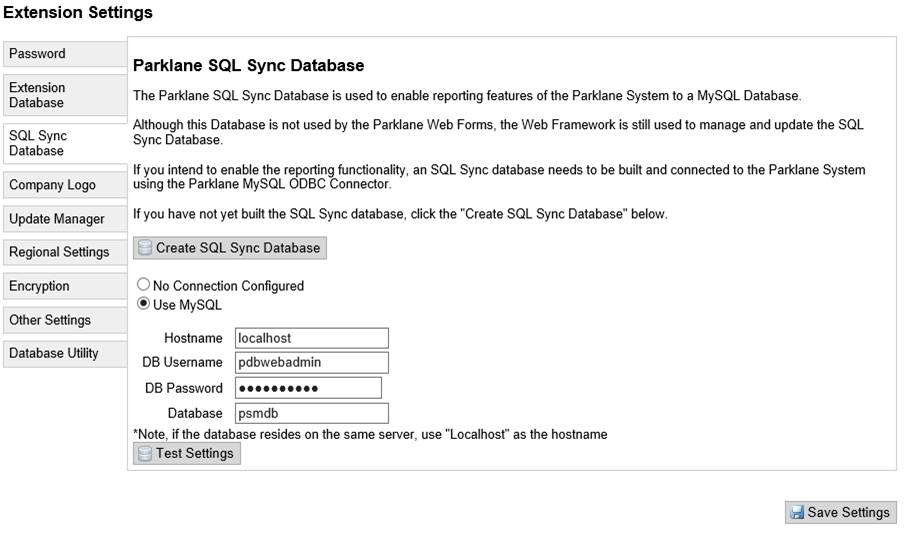
Also assign the credentials that will be used to connect to the SQL Sync
database.
By default, the credentials that will be assigned are pdbuser and pdbpass
Click Next
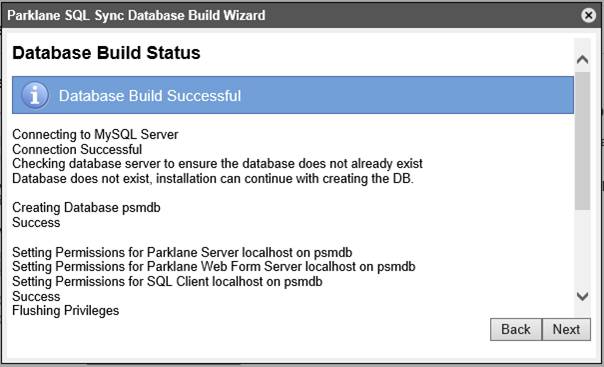
7.
The database will be built (may take a few minutes) and will
display Database Build Successful
when complete.
Click Next
Click Next
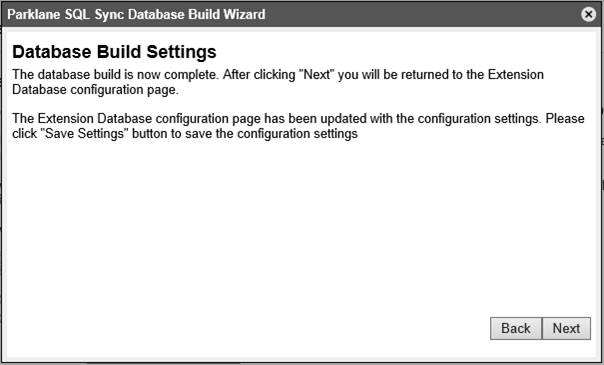
8.
Click Save Settings
The Database has now been built and you can close the web browser.
|